For example, if you use the Snapchat app on your Android, you can set up two-factor authentication with SMS to add an extra layer of security. For those who don’t know, Two Factor authentication adds a second login step to your existing username and password. When you set up Two-Factor Authentication with SMS on Snapchat, you will be asked to enter a login code sent to your phone number. When Snapchat detects a new login device, it automatically sends an SMS containing the login code to your phone number. Also Read: How to Share Your Live Location With Friends on Snapchat
Steps to Enable Two-Factor Authentication on Snapchat
Only after entering the secret login code you will be able to sign in to your Snapchat account. Hence, this article will share a step-by-step guide to setting up and enabling two-factor authentication with SMS on the Snapchat application. Let’s check out.
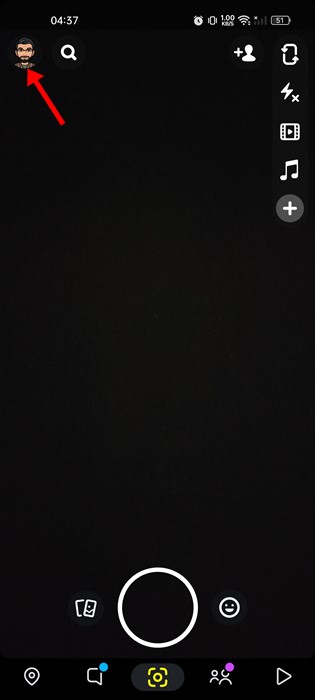
First of all, open the Snapchat app on your smartphone. Next, log in to the account and tap on your profile avatar.
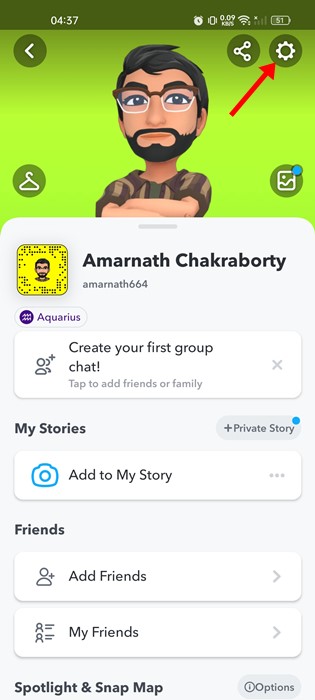
On the My profile page, tap on the Settings icon in the top-left corner.
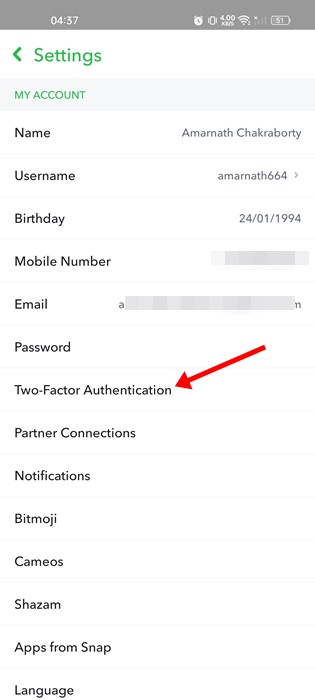
On the Settings screen, scroll down and tap on the Two-Factor Authentication.
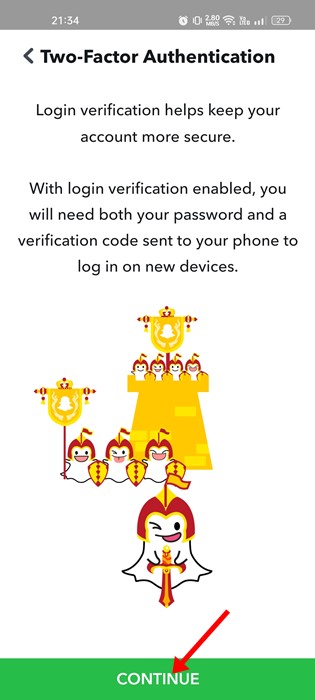
On the Two-Factor Authentication screen, tap on the Continue button.
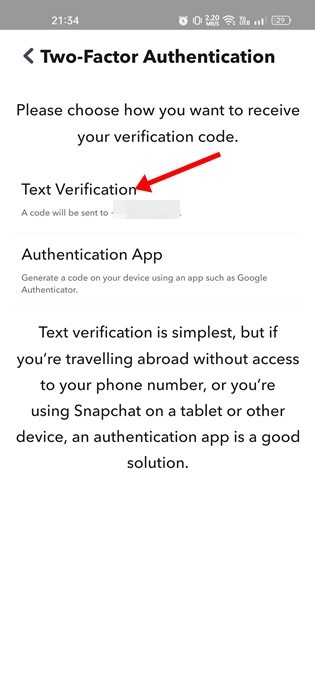
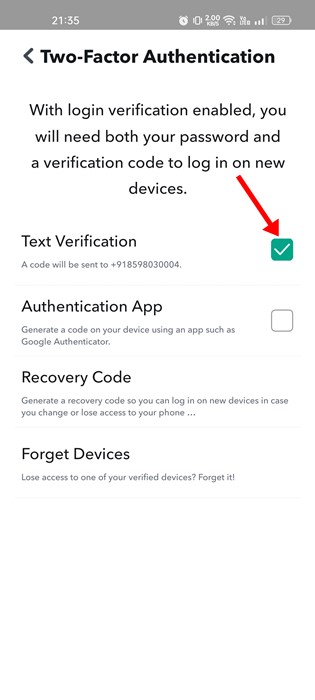
On the next screen, tap on the Text Verification option.
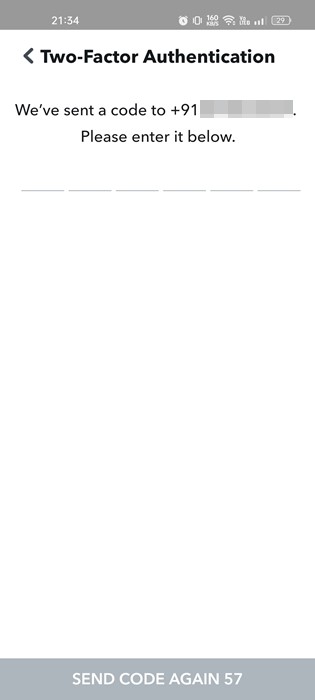
6. Now, Snapchat will automatically send a verification code to your registered phone number.
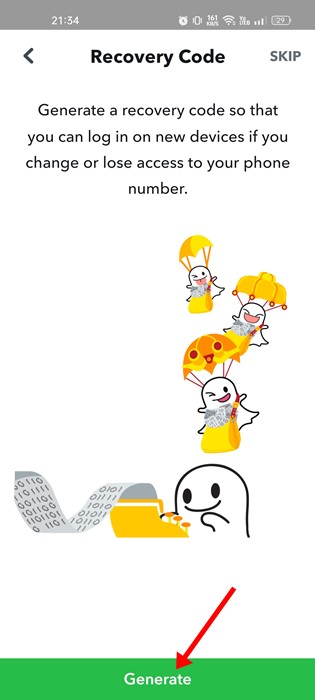
You need to verify the code. On the next screen, Snapchat will ask you to generate a recovery code. You can use the recovery code if you lose access to your phone number. Tap on the Generate button to generate a recovery code.
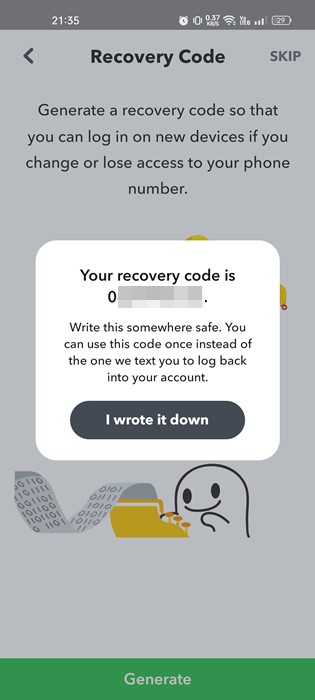
Now, Snapchat will generate a recovery code. Simply note down the code in a safe place and tap on the I wrote it down button.
Once done, you will see a confirmation screen like the one shown below.
That’s it! This will enable Two-Factor authentication on your Snapchat account. So, this guide is about setting up two-factor authentication with SMS on Snapchat. You can also enable two-factor authentication on Signal Private Messenger. If you are stuck somewhere in the steps, let us know in the comments.